One day, you will encounter a problem, whether you are a novice or a veteran. You see on Instagram and Pinterest that the surface of the wool felt project made by others is very smooth and delicate as if there is no floating hair, no potholes. And not as rough as doing it yourself. Don't know how to do that smoothly. Very confused. Now is the time to upgrade your needle felting skills! This article will solve this problem, and at the same time, it will help you understand and master it faster with the explanation video we made. Without further ado, let's get started
First, smoothing the surface of needle felting is a systematic project. It can be completed not only by getting a particular point or step but by the superposition of multiple factors and steps. Grasp the strength in the process of stabbing, selecting the right wool and needles, and cooperate with the skills of wrapping wool. All these steps can make your wool crafts as smooth as possible. Of course, if you do one of these steps and factors, the surface of your wool felt will be smoother and less fluffy. The more you do them, the smoother it gets.

Let's talk about wool first. There are big differences in texture between different breeds of sheep and wool processing methods. If you've tried wool from different stores, I'm sure you'll easily spot the difference. Some wools are easy to felt, and others take more time to felt. Why is there such a difference? The answer is the messier it is, the easier it is to felt! The smoother the carded wool, the less likely it is to be felt. The same is true for stabbing with a needle, which is to make the fibers more messy and tangle them, and buying just messy wool can save us a lot of time. So when making wool felt, tear the wool many times before making it, rub it, and then start to stab it. It can be felt faster! Therefore, choosing wool that is easier to felt is the first step. The easier it is to felt, the less floating hair will be generated on the surface.


Next, let's talk about needle selection and force. This step is usually at the end because you don't need to consider these when you start stabbing in the early stage. In making needle felting, we need to change needles, usually starting with coarse needles(36 gauge), then changing to medium needles(38 gauge), and finally using fine needles(40 gauge). To make your wool craft's surface smooth, we need to replace it with fine needles at the end and, simultaneously, use lighter force, reducing the size and number of pinholes.
In the end, you will find that the surface seems to be a lot smoother, but it is not smooth enough. Then there are the three most essential skills in the production process.
1. Add more wool, wrap or cover with new wool. Then with fine needles and light stabbing
As you can see in the video below, by adding more wool, flattening them, then wrapping and covering the original wool felt surface with fine needles, the original rough surface and pinholes can be well covered by lightly stabbing. If one layer is not enough, wrap two layers. This is a retouching method that allows you to make adjustments to your work to achieve the best results. This is an essential skill in needle felting. It can be used for surface refinement and shape adjustment, giving you more opportunities for trial and error.
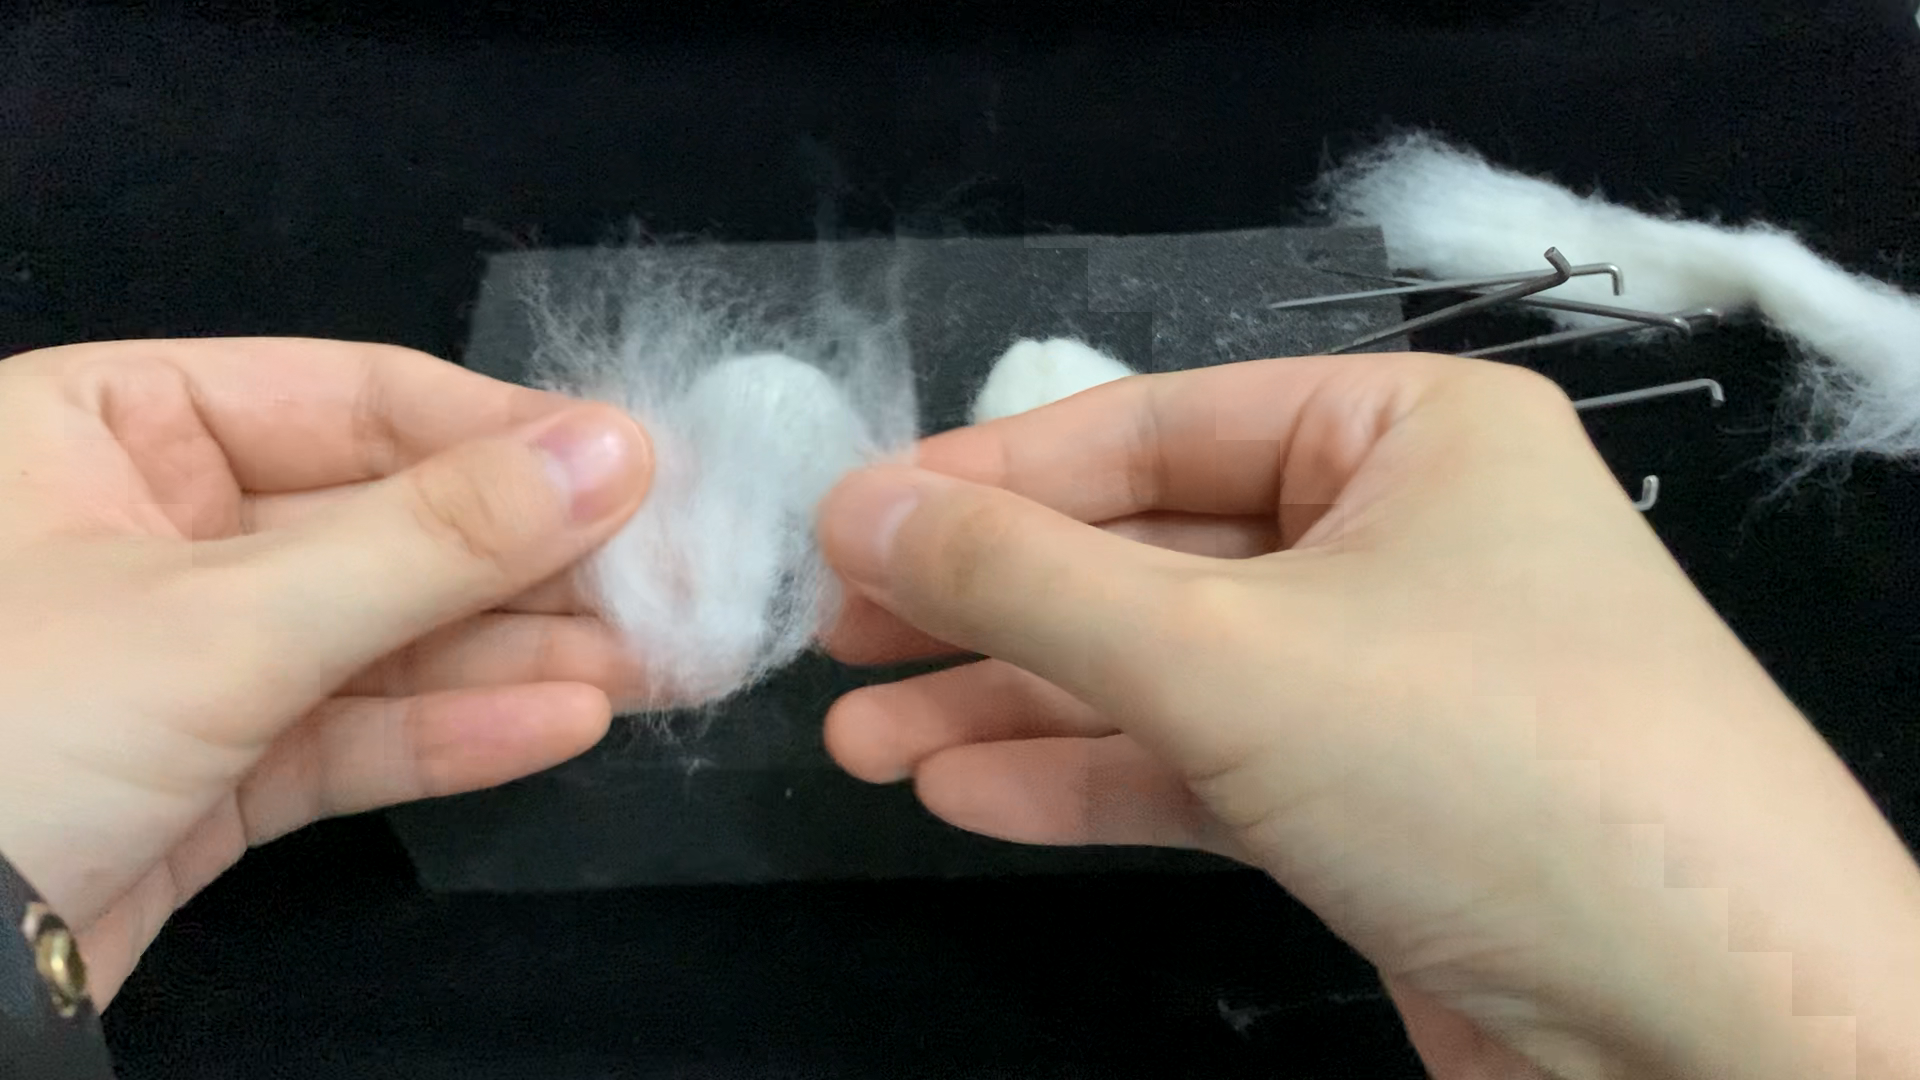


2. Pick it up, and rub it
At the same time, during this process, pick it up and rub it with both hands at the right time, which can reduce pinholes and speed up felting, and at the same time, just like rubbing clay, it can make the surface smoother and reduce the generation of floating hair.
3. Cut off the floating hair
In fact, if you have completed all the above steps and requirements, then your wool craft should be very smooth now. If you are a perfectionist, the remaining floating hair can be removed with scissors.